My take on the cauliflower burger. I love cauliflower and have always just made the steaks where you slice drizzel with oil and season the way you like before baking. The first time I tried a cauliflower burger, I was in love all over again.
I drove over to a friends house, and pulled into his driveway… before I could get out, he jams this sandwich in the window and said “here, try this and tell me what it is.” Being the foodie I am, I happily obliged.
A nice bun, onions, pickles and something that appeared fried. Taking a bite, it was firm and steamy. Delicious. With the pickles and onions, I said “a mild white fish.” Wow, I couldn’t have been further off. The sandwich was from a reputable local establishment. They had their process. Cauliflower. Steamed just enough, pulsed in the food processor to leave some chunk… and mixed with a delicious spice profile.
I had to try and recreate it. So first, like always… Google. There is no shortage of cauliflower recipes out there, each with their own take. I selected the one that sounded like it could render the result I was looking for. It turned out pretty good, but it was far off. The texture was much finer than the chunkier, white fish-like interior of my first. It also lacked the caramelized crust that I actually thought was breading.
So for the next attempt, I spent more time thinking about the process. I cut the florets off a head of cauliflower and washed fewer bigger pieces.

Then, laid them out on parchment paper in a sheet pan. I keep olive oil in a sprayer for times like these. Spray the florets (or drizzle) liberally with olive oil, and sprinkle with salt, pepper and cumin.

Bake for 30 minutes. While it’s baking, rinse 1 cup of quinoa, drain and add 2 cups of water and bring to a boil on the stove. Once boiling, cover and simmer for 15 minutes. Don’t ovecook this. After 30 mins, take the lid off and fluff, and leave aside to cool.
When the cauliflower comes out of the oven, you want it soft enough to bite, but still firm. You don’t want it anywhere near mushy as they still have to hold up in the food processor and the mixing.

Transfer these big, seasoned chunks into the food processor in shifts, not all at once. No stacking.

Pulse a few times and dice it to your desired consistency. I like it chunky, but there is a point where too large of chunks will not let it hold together and they will break apart during cooking. Let’s say no smaller than rice, and no larger than peanuts. Well, for me, maybe a bit larger. Finish pulsing the rest of your cauliflower.
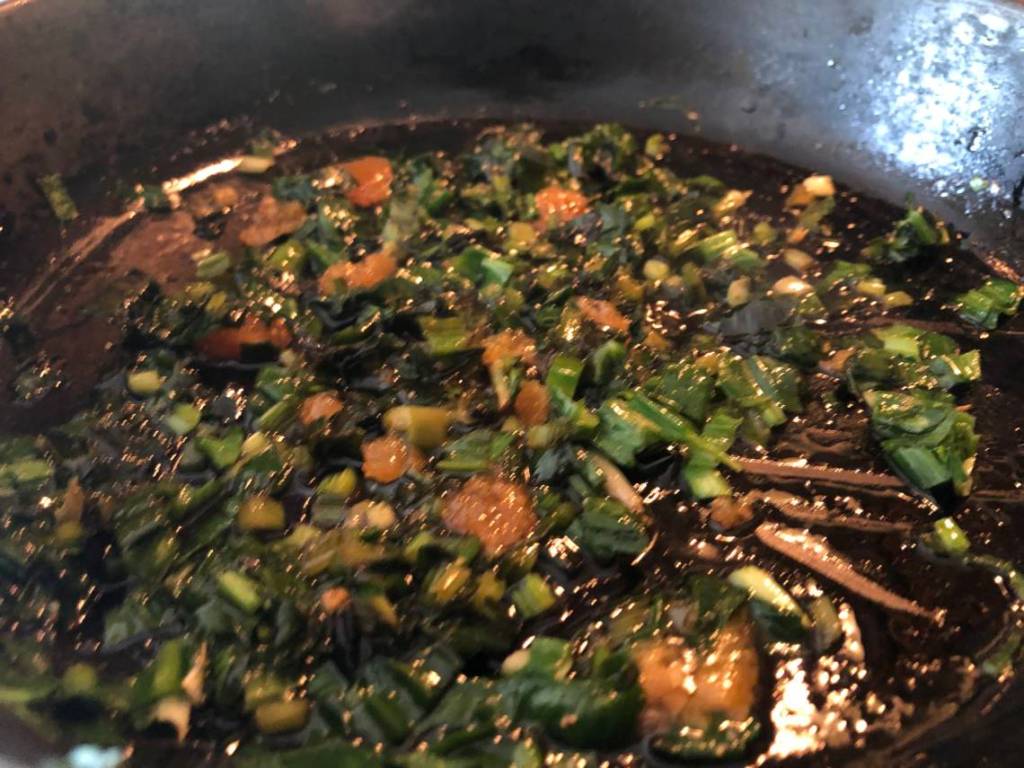
Next, make up your spice mix. The options are unlimited here, but here’s what I did.
To a mixing bowl, add 1 cup of fine breadcrumbs and the quinoa. To that, add 3 eggs and 3/4 cup of grated asiago, parmesan or your favorite hard cheese, 1 Tbs of olive oil, 3-4 cloves of crushed garlic and 1 tsp of cumin. I also added a Tbs of my homemade Worcestershire sauce. If you want it spicy, add cayenne pepper flakes. I had to hold them this time because this was the family dinner tonight.

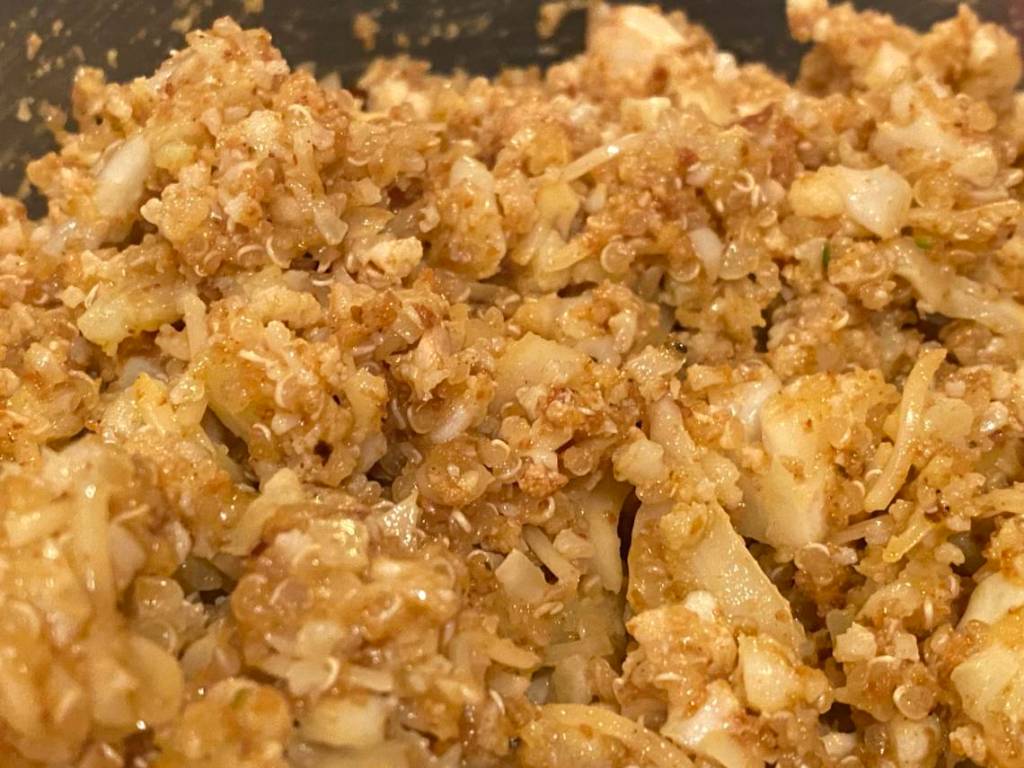
To this bowl of goodness, add your grated/pulsed cauliflower and mix well. During this mixing, you may break up some of the larger pieces as well. Again, too large of pieces won’t let the binder hold it together (which is mainly the eggs and gluten from the breadcrumbs).
Form the patties and heat an iron skillet with some olive oil up to high heat. Add the just-made patties, listen for the sizzle, then turn the heat down to medium. They fry up nice in the iron skillet right away.

I make a double batch, form them into patties and par-freeze before vac sealing. They make a quick meal later. I have also laid the frozen patties on the grill and slow grilled, flipping only once.
With about 6-7 minutes on each side over medium heat, they caramelized up nicely, and had the crispyness of something battered and fried.

From here, choose your bun. I’ve tried a basic potato bun that was fantastic, and this go-round, I used some sourdough I made earlier in the day. Add your favorite condiments. Pickles and onions are essential for me, and on my next ones, I’ll add pickled onions. Some cilantro doesn’t sound half-bad… and if you really want to be bad, add a dollop of chipotle mayonaise. Tarter sauce if you are heading toward a fish-like sandwich.
You can see how easy it is to change these up to your tastes. You can even manage to make it vegan or vegetarian. Hold the eggs and cheese, and cook the quinoa longer. The gluten from the bread crumbs also helps bind. You can drop the breadcrumbs and find a more preferred binder to add in to help hold it together when cooking. Have fun.