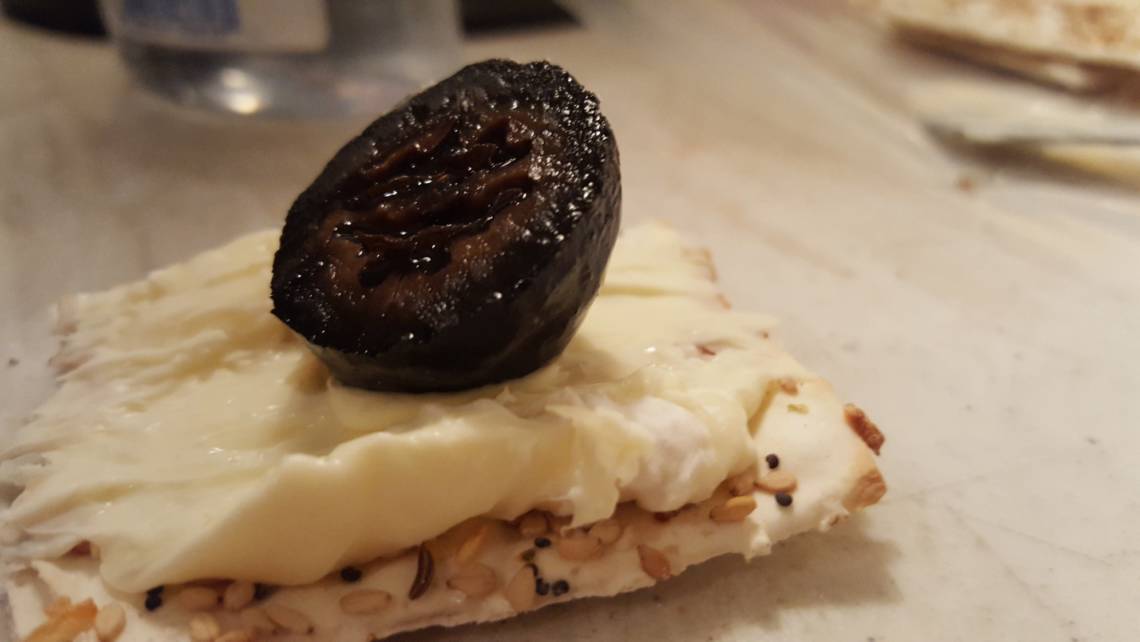
Here is the “other” black walnut project I have been working on in addition to the nocino. I am working on preserved walnuts. Not pickled, mind you. This is important to understand because these come out as soft, sweet little baklava-tasting delights! I have been fascinated by this ever since my friend Terrie gave me some to try back in January. Reading up, this is an Armenian tradition… and I hear that you can maybe find these at Armenian groceries… but I know of none nearby me. At first bite, I said, “oh, I gotta try to make these.” She concurred. Notice how one immediately found its way on to a bit of Brie that I made. You can see that the nut is not at all formed… and it appears the walnut shell actually formed and it should be rock-hard… but really, it’s soft, and has a hard-to-explain texture that I’ll just leave at divine. Oh… I should mention they are best served cold too. I would never have believed it. Turns out, you can order these exact ones online at Murray’s Cheese as a compliment to a meat and cheese plate. You’re welcome. Now, on to trying to replicate…

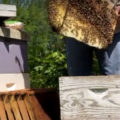
I started with “green” walnuts that had to be smacked off the tree prematurely. My friend Jim had a great tree, but it was big… and that meant a ladder, and a long pole to smack them off. I got a 5g bucket full… which turns out, goes a long way. I ended up making a double batch of nocino and a double batch of preserved walnuts and still threw out almost half a bucket full. For the preserved walnuts, we have to peel the skins. I started with a potato peeler and it worked pretty well… then after understanding you have to poke some holes in them, I took the corer off my apple peeler, stuck them on and turned them through. It too worked OK, but if the nuts were odd-shaped, you had to come back and fine tune it with the peeler. I made it through, and of course, yes… you should wear gloves. When young, the juice is clear as you are peeling… but then it darkens and will stain your hands… and the table. My wife loves the new dark spots on the table from the splashes off the cutting board.

So, we have them peeled and poked. Now, we soak them in clean water… and we dump and change the water 1-2 times a day for at least 10 days. I was pretty diligent about this and in fact, I’m on day 16 today because it has taken me a while to get back to this. During the soaking is where most of the bitterness is removed. The water turns foamy and dark… then you dump and change it out every day. On day 10, you can add in some pickling lime to the water for 24 hours if you want to keep a more firm preserve, just do one final clean soak with no lime before moving to the next step.

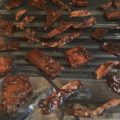
Today, I boiled a big pot of water then dumped the walnuts into it and let them boil for 20 minutes. Here, the water turns almost black and so do the nuts… (pics below). They are really soft now. I have them laid out on a towel to dry for a couple hours. For 130 walnuts, I’ll use about:

10-12 cups of water
4 lbs of honey (I’m thinking a maple syrup version next)
The goal with the above is to have a close ratio to nut and liquid. In the end, all of this syrup will be poured into the jars with the preserves. I’m shooting for a thicker syrup and may add more honey in the end (if needed) to achieve that.
This is where I am right now in the process. I will boil just the honey and water, then dump in the walnuts and cook them for 30 minutes. Since I can’t finish them tonight (they will be canned) I’ll cover and leave them to cool overnight to finish tomorrow.
Tomorrow, the plan is to reheat the nuts and syrup, adding in;
1 T citric acid (or 3 T of lemon juice)
2 t cardamom (or 4-5 crushed pods)
2 t cinnamon
1 split vanilla bean
I had considered some star anise, but saved that for the nocino. I can think of several other possibilities but will leave them for the next time.
Cook for another 20-25 minutes or until they have the desired firmness. The entire mixture, nuts, and syrup will be dumped into clean hot jars, and then canned in a water-bath.

I’d say they can be eaten immediately as they are already soft enough, but like anything, I suspect they’ll develop some character over time and I plan to keep some up on the shelf as long as possible. I’ll post the remaining pics soon but see my commentary on each pic for more detail.

A walnut preserve on my own brie… and a cracker. Pick some green walnuts… I used 60 in my batch. Peel the skin off the walnuts and poke a few holes in them to allow water and syrup to penetrate later. Note the gloves… wipes up splashes quick… it stains everything, even a coated table. 
Soak the nuts in clean water… changing it 1-2 times daily to reduce the bitterness. 
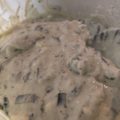
A peeled clean young black walnut. The water get’s nasty… when it looks like this… change it out. I finally used a plate to hold them all under the surface. Air does oxidize them and they start turning brown quickly. 
Here’s what they look like after 16 days of soaking and rinsing. They are relatively soft and darkened. 
Jason MorganThe Morgan Ranch Admin · July 12, 2018 · I boiled enough water to have all the nuts submerged… and then dumped in the nuts to boil for 20 minutes. Here, they are laying out to cool and dry before going into the simple syrup Here, the nuts are steeping in the honey/water mixture. 
The finished product was canned in a water bath. 
A close up of sealed jar.


Leave a Reply