A good primer for those delving into charcuterie is to make pancetta. There are several styles and “arrotolata” simply means rolled. This to me is the more familiar style and the one I chose because I like trussing up the meat. Here, I’m just adding to the many articles on the internet on making pancetta. I’ve looked all over at the many possibilities, but settled on the one from Kyle Hildebrant at Our Daily Brine. Kyle does a really nice job on his pictures (which really mean a lot to me) and since I’m a visual guy, I appreciated seeing the detailed pics. He also provides a nice little chart to use for your logging of ingredients, weights and when you did what. I have to admit, I printed it out and used it too. The same article gives a nice example of how to use weights for the ingredients instead of measurements like teaspoons and ounces, etc. Kyle and I met on the Salumi, Charcuterie, Wurst FB forum where everyone shares their updates on their latest salumi projects. The man who started the forum, Francois Vecchio, is also passionately involved in mentoring all of us. I bought his book and DVD, and have been able to reach out to him with questions. In short, if you are learning the art of Salumi and Charcuterie, this is a great, interactive place for learning from the masters.
Back to the meat… pancetta can be done without a lot of fancy equipment and doesn’t take an absurd amount of time. Here is the general process along with my pictures.

1. Prepare a pork belly. In any charcuterie project, the quality of your pork is key. I have been sourcing forest-finished pork that is fed a natural diet and the pigs pastured. This all contributes to better fat and tastier meat.
2. Mix your spices based on the weight of the meat. Again, the spices are unlimited, but I tried Kyle’s recipe this time around. Sometimes, less is more, but the basics are usually pepper, garlic… and when I need wine, I use my own homemade wine.
3. I vacuum seal the belly with the cure and spices in a bag to hold it and any brine that is released against the belly. Put it in the fridge and flip it over every other day. The nice thing about adding ingredients based on the original meat weight is that you could leave it in the fridge indefinitely without worrying about it getting too salty or overpowered–because everything is added proportionally. This is called the equilibrium method. Everything you have in the bag, will make it in to the belly in just the right way.
4. When it’s time to roll it up, remove the belly from the vac bag, and wash it off. Don’t worry if all the spices don’t come off. Just wash it off good and lay it flat on some paper towels. Use more towels to dry the top and get it as dry as you can.
5. Now, we’ll add a thick layer of cracked pepper on the top (belly side, not the fat side) and I mean thick. I buy my peppercorns in bulk from Amazon (along with most of my other spices) as I use a lot of it. The pepper acts as an antibacterial agent inside the pancetta… and apparently, flies don’t like it either.
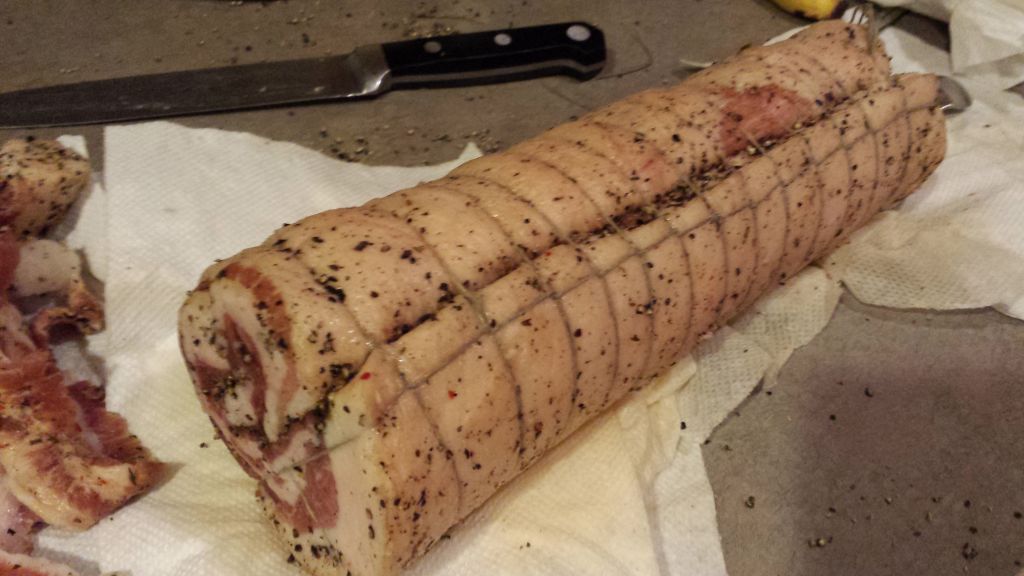
6. Roll the belly up tight and tie it. There’s many videos on the net on trussing (and you can watch for one here soon!). There’s really nothing to it and it’s one of my favorite parts to do. I’m not sure why.

7. Cut the ends to square them up a bit. In any charcuterie project, you will find it’s recommended to trim rough ends to make the surface of the meat as smooth as possible. The idea is reducing crevices that bacteria can otherwise get a foothold. Of course, we have our cure II/prague powder that time-releases nitrites to further protect the meat, but doing all we can to reduce bacterial possibility is just a best-practice.
8. Now, we’ll weigh the final product! This is important so that you can understand how much weight loss has occurred over the drying period. This will tell us how much drying has occurred, and whether or not the pancetta is partially or fully dried. Now, hang the pancetta up to begin the drying process and mark the date next to your weight.
The ideal environment is temperatures between 60-65F and humidity 40-50%. This is flexible. Many people hang it above their kitchen sink, where it gets some extra humidity. However, remember that light is what turns fat rancid. You can wrap the pancetta in several layers of cheese cloth to help keep the light off, but still allow the moisture to escape. I hang mine in my wine cellar where it remains between 60 and 65F and the humidity is higher than in the rest of the house. You can also put a pan of salt and water to add humidity to a room.
Pancetta can be party or fully dried. Fully dried pancetta can be eaten without cooking and here, you will be looking for a 20-25% water/weight loss. This is art of any charcuterie project… allowing the meat to dry out before it rots and providing an environment that is conducive to allowing the meat to dry from the inside out without the outside hardening to a point that prevents it.
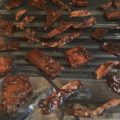
Enjoy a few pictures below on where I’m at with this one… and I’ll be sure to post some pics of the slicing in a couple of months.


Jason —
That’s for the shout out. This looks like it’s turning out really well. Looking forward to seeing the finished product!
Kyle… it’s looking and smelling good. It’s weighing in at 1572g, down from 1736g Mar. 26, 2014. The items in my drying chamber are drying faster. I don’t mind waiting… did I read somewhere on your site you can cure it partially, or fully?